Installation#
OpenLane uses Docker images that contain majority of tools ready to use.
Many open-source projects in the space are struggling with reproducibility. It is practically impossible to create perfectly same environment across many Operating Systems and distributions. The reasonable suggestion would be to use virtual machines, however virtual machines are heavy, hard to build and take up a lot of space.
Docker containers make things much easier and lightweight.
They run on top of your existing kernel but everything on top of it,
like libc and system libraries, are under control of the container.
For this specific reason, it was decided to use containers and Docker was selected as container engine. It saves you the struggle of installation, since the prebuilt binaries are included in an isolated environment inside the container.
Installation steps#
Step 1. Installation of required packages#
For OpenLane you need a couple of tools installed:
Docker 19.03.12+
Git 2.35+
- Python 3.6+
pip
venv
GNU Make
After installing all of the above, proceed to Step 2. Making Docker available without root.
Instructions for Ubuntu#
You need at least Ubuntu 20.04 and above. All of the required packages are included in the Docker image, so the installation list is slim.
sudo apt install -y build-essential python3 python3-venv python3-pip make git
Second you need to install Docker. Follow instructions provided in documentation of the Docker here as steps provided below might be outdated.
Warning
The steps below might be simply outdated, it is encouraged to follow the link to the official Docker documentation
# Remove old installations
sudo apt-get remove docker docker-engine docker.io containerd runc
# Installation of requirements
sudo apt-get update
sudo apt-get install \
   ca-certificates \
   curl \
   gnupg \
   lsb-release
# Add the keyrings of docker
sudo mkdir -p /etc/apt/keyrings
curl -fsSL https://download.docker.com/linux/ubuntu/gpg | sudo gpg --dearmor -o /etc/apt/keyrings/docker.gpg
# Add the package repository
echo \
   "deb [arch=$(dpkg --print-architecture) signed-by=/etc/apt/keyrings/docker.gpg] https://download.docker.com/linux/ubuntu \
   $(lsb_release -cs) stable" | sudo tee /etc/apt/sources.list.d/docker.list > /dev/null
# Update the package repository
sudo apt-get update

# Install Docker
sudo apt-get install docker-ce docker-ce-cli containerd.io docker-compose-plugin

# Check for installation
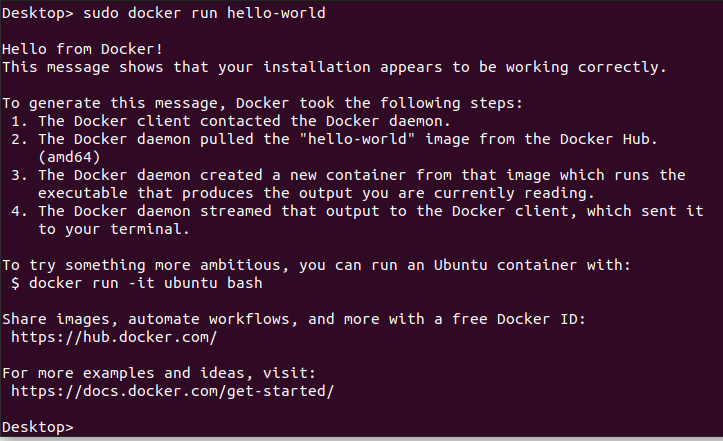
sudo docker run hello-world
After installation you will get Hello World of Docker:
Proceed to Step 2. Making Docker available without root
Installation of required packages under macOS#
First install Homebrew then run script below to install the required packages:
brew install python make
brew install --cask docker
Proceed to Step 2. Making Docker available without root
Requirements in Containerless/Local Installations#
Warning
OpenLane encourages you to avoid using Containerless/Local installation method. As the version of the packages can affect the performance and reproducibility. Most of the documentation assumes that you are using Docker based flow, but if you choose to use containerless installation, then you are on your own.
Please see local installation
Step 2. Making Docker available without root#
Warning
The steps below might be simply outdated, it is recommended to follow the link to the official Docker documentation
This is a mandatory step, without this all of OpenLane scripts will fail. Follow instructions here or you can use a script below, but keep in mind that by the point you are reading this it might be outdated.
Important
This is mandatory step. Without this most of OpenLane scripts will be confused and error out with permission issues. This step caused a lot of confusion because it needs to be done after the installation of the Docker. DO NOT SKIP!
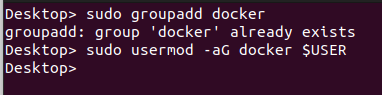
sudo groupadd docker
sudo usermod -aG docker $USER
sudo reboot # REBOOT!
You must restart your operating system for the group permissions to apply.
Step 3. Checking the docker installation#
After that you can run Docker Hello World without root. To test it use following command:
# After reboot
docker run hello-world
You will get a little happy message of Hello world, once again, but this time without root.

Troubleshooting of Step 3.#
If you get Docker permission error when running any Docker images:
OpenLane> docker run hello-world
docker: Got permission denied while trying to connect to the Docker daemon socket at unix:///var/run/docker.sock: Post "http://%2Fvar%2Frun%2Fdocker.sock/v1.24/containers/create": dial unix /var/run/docker.sock: connect: permission denied.
See 'docker run --help'.
OpenLane>
Then you skipped a step or two. You forgot to follow Step 2. Making Docker available without root or restart your Operating System.
Step 4. Checking the requirements#
In order to check installation, you can use following commands:
git --version
docker --version
python3 --version
python3 -m pip --version
make --version
python -m venv -h

Step 5. Downloading and validating OpenLane installation#
In order to download and validate OpenLane installation run the following commands, explanation of each step is provided below:
git clone --depth 1 https://github.com/The-OpenROAD-Project/OpenLane.git
cd OpenLane/
make
make test # This a ~5 minute test that verifies that the flow and the pdk were properly installed

git clonedownloads latest stable version of OpenLanecd OpenLane/changes current directory to the newly downloaded OpenLane- The Makefile
makedoes following: Pulls the OpenLane Docker image.
Pulls and updates the PDK
- The Makefile
make testTests the whole setup with a complete run on a small design, spm.

This should produce a clean run for the spm. The final layout will be generated at this path: ./designs/spm/runs/openlane_test/results/magic/spm.gds.
Updating OpenLane#
To update the OpenLane, run following commands:
cd OpenLane/
git pull --depth 1 https://github.com/The-OpenROAD-Project/OpenLane.git master
make
make test # This is to test that the flow and the pdk were properly updated
It is very similar to installation, one difference is that we pull the changes instead of creating a new workspace. Git pull will not remove your files inside workspace by default.